SIMRACE.app
Sign in

Market-first · 2026 · no other tool computes this

The fastest setup
isn't for sale
it's already in your telemetry.

Not a setup store — AI race engineers for your car. They read your laps and your driving style and compute the setup, corner by corner.

Read 01
Balance
Front / rear load transfer — the read a race engineer spends a career on.
Read 02
Center of pressure
Aero balance & migration — where downforce really acts, fore / aft with speed.
Read 03
Weight & CoG
Weight per axle and a CoG marker that walks back as you fill the tank.
Read 04
Brake thermal window
Braking distance vs brake temperature — keep the brakes in their working window.

The read

What a setup store can't give you.

A bought setup is a stranger's car. These four reads are computed from yours — Balance, Roll, Weight & CoG and Center of pressure. Move the instrument on the left; the precise engineering read is on the right.

INSTRUMENT BALANCE
BalanceFront / rear load transfer
Oreca 07 LMP2 — top view, front/rear load balance FRONT REAR
FRONT 41% REAR 59% bubble drift +0.14
Bubble slides rear into Indianapolis — front won't bite
Illustrative — motion exaggerated for clarity.
RollLeft / right load through a corner
Oreca 07 LMP2 — front view, left/right roll L R
L 38% R outer 62% roll angle 2.8°
Through a fast right — load piles on the outer tyres
Illustrative — motion exaggerated for clarity.
Weight & CoGWeight per axle · CoG walks with fuel
Oreca 07 LMP2 — side view, center of gravity 409 kg 461 kg
0 L
front axle 47% rear axle 53% drag the slider — CoG walks back with fuel
Weight per axle + CoG marker — like a corner-weight rig
Illustrative — motion exaggerated for clarity.
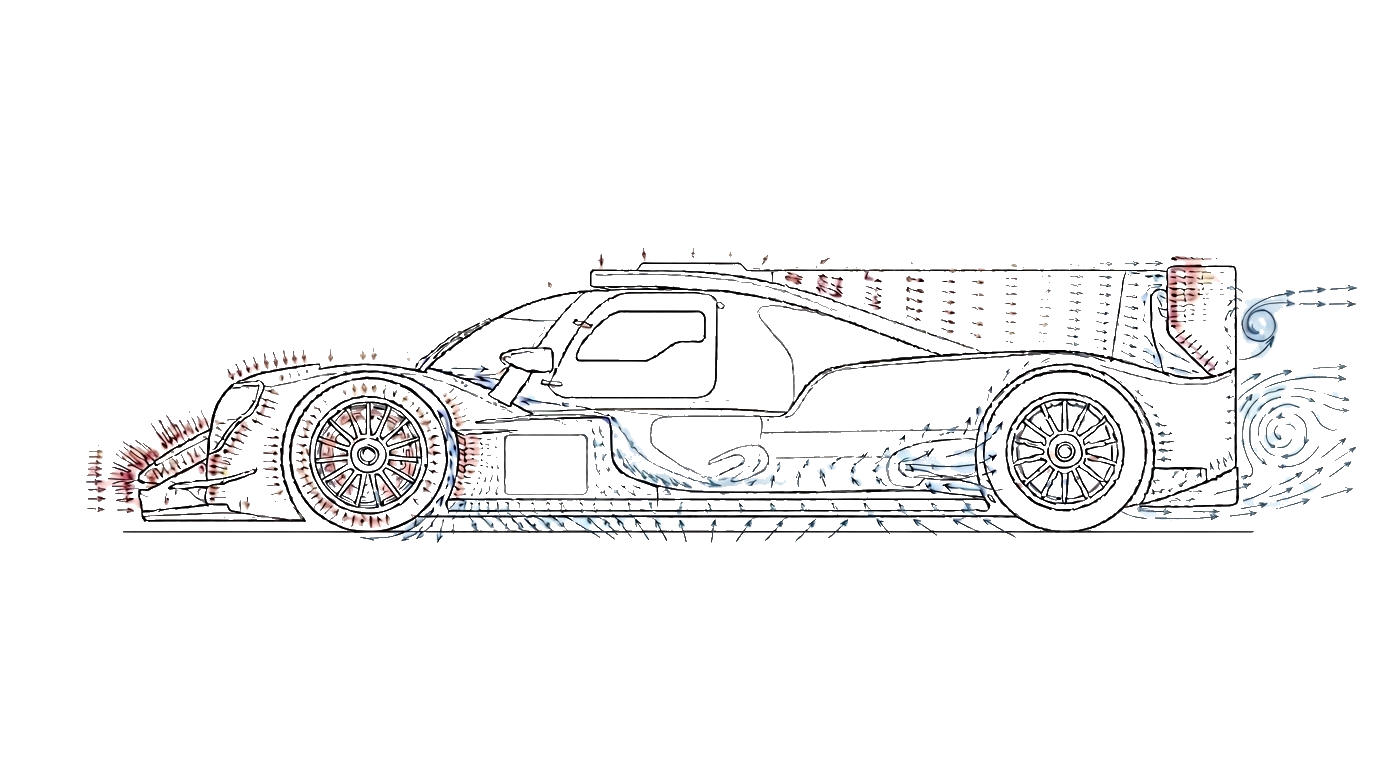
Center of pressure (CoP)Aero balance · migrates fore / aft with speed
Oreca 07 LMP2 — aero load and center of pressure
160 km/h
CoP 48% F migration −1% F @ 160 km/h aero vs mechanical: aero
Downforce deduced from ride height & stiffness — CoP migrates fore/aft with speed
Illustrative — motion exaggerated for clarity.

Indianapolis: the front "goes through" but won't bite.

Flat-out into Indianapolis, downhill, the front dives and the rear unloads — the bubble slides to the rear. The front turns in but won't bite: vague, on the edge of a snap. Not viable over 24 hours.

  • What it reveals: the balance is at fault — too much load on the rear, front platform too soft.
  • Lever: support the front (rake, ride height, ARB) to bring the bubble back to centre — sharper turn-in, stable at top speed.
  • Live + logged: the pit wall tracks this bubble and the per-corner extremes by distance, so repeated anomalies surface and get corrected.
Balance, explained →

In the corner, the car rolls onto its outer tyres.

Through a fast right-hander the bubble swings right — load piles onto the outer tyres while the inside goes light. Too much roll and the car leans on two tyres instead of four: less grip, vague balance.

  • What it reveals: a front-to-rear roll imbalance — one axle leaning more than the other.
  • Lever: anti-roll bars, springs and ride height — keep all four tyres working through the corner.
Anti-roll bars, explained →

Center of gravity: where the weight really sits.

We read the per-wheel loads and the car's mass and show the weight on each axle — plus a CoG marker that walks backward as you fill the tank, exactly like a corner-weight rig in the garage.

  • What it reveals: how the tank load walks the CoG rearward and shifts the front/rear split lap after lap.
  • Market-first: no other sim telemetry plugin computes weight-per-axle and center of gravity to guide a setup.
Center of gravity & pressure, explained →

Center of pressure: where downforce really acts.

Downforce isn't exposed by the sim — we deduce it from ride height and stiffness and show where the aero load acts. As speed climbs, the CoP migrates fore / aft, changing the aero balance through the lap.

  • What it reveals: aero balance and its migration with speed — and whether a problem is aero or mechanical.
  • Lever: wing, ride height & rake — set the high-speed balance, then let the mechanical platform carry the slow corners.
Center of pressure, explained →

See it read a real lap, corner by corner

The gap on the clock

Different sims. Same read, same gain.

The engineers read whichever sim you run. Here's the kind of lap time that's hiding in a setup built from your own telemetry — corner by corner.

SIM 01
Le Mans Ultimate
−0.81s / lap
Porsche Curves −0.24s
Mulsanne chicane −0.31s
Indianapolis −0.26s
SIM 02
iRacing
−0.63s / lap
T1 trail braking −0.22s
Esses −0.19s
Final chicane −0.22s
SIM 03
Assetto Corsa Competizione
−0.72s / lap
Eau Rouge −0.27s
Bus Stop −0.21s
Pouhon −0.24s
Illustrative — real gains depend on car, track and driver.

How — built from your laps

Read. Rebuild. Measure.

No generic baseline, no alien's car. The SimHub plugin streams your telemetry automatically — the engineers read it live and rebuild the setup around the driver in the seat, then prove the gain.

STEP 01
READ

Read your telemetry

The SimHub plugin streams every lap automatically — no manual upload. The engineers read 100+ channels live: tyres, brakes, suspension, lines.

STEP 02
REBUILD

The engineers work

Slip angles, wheel lock, diff behaviour, the load bubble, roll, ride height — computed corner by corner.

STEP 03
MEASURE

Before / after delta

Each change ranked by gain and risk. You always know what to change first — and why.

RADIOCH 04

Marco: apex varies 44→61 km/h across your laps. Front won't rotate — ARB front −1, brake later with trail.

Ted: rears +9°C vs front, traction saturates. Rear −0.3 psi — tyres last 4 laps longer.

Adrian: stack it — −0.80s in 3 laps of work, low risk.

slip angle wheel lock differential load balance roll ride height brake temps tyre window

Depth & access

Every lever is connected — in order.

The car sits at the centre and the setup layers ring around it. Everything is interconnected — the science is reading how they play together. The numbers show the order the engineers work the strata. Open a layer to read the engineering.

1 Tyres — pressures & temps in their window.

Glossary deep-dives

The crew

Specialized engineers. Not a chatbot.

Seven specialist race engineers — each owns one discipline. Click one and see exactly what they read in your data, and the lever they'd pull.

🛞

Marco

Chassis & balance

🌡️

Ted

Tyres & pressures

📈

James

Data & suspension

🧠

Sophie

Race strategy

Paul

Energy & fuel

⏱️

Alex

Driver performance

🎧

Adrian

Chief engineer

📡

Live pit wall

They talk to you while you drive

Breaking point

Your braking point — learned, then flashed on your wheel.

The hardest tenths hide on the brakes. The pit wall finds your real breaking point and replays it on your wheel LEDs.

Practice mode

Your best braking points — learned, then flashed on your wheel.

Every braking is measured in free practice: distance, pressure, trail, corner speed. The pit wall keeps your best reference for every corner — and replays it through your wheel's LEDs via native SimHub properties. The lights fire at your optimal brake point. Not a pro's. Yours, improved.

★ Brake Thermal Window — braking distance vs brake temp →
T1 — brake in 52m · your best: 228m @ 96%

Don't buy a guru's setup.
Build your own speed.

A pro's setup fits the pro. Our engineers read how YOU brake, turn and accelerate — then adapt the car to your driving, lap after lap. Speed isn't copied. It's built.

Pricing

Start free. Pay for speed.

1 credit = one telemetry read + a rebuilt setup by the engineers.

Free
€0
2 credits / day
  • Full 2nd-screen pit wall — free, no subscription needed
  • Per-corner symptom spotting + optimization pointers
  • All file formats (any sim, MoTeC)
Start free
Pro Popular
1 sim = your pick — iRacing · Le Mans Ultimate · rFactor 2 · ACC · Assetto Corsa · RaceRoom
100 credits / month
  • Full setup engineering
  • Session history & before/after deltas
  • Unlimited engineer questions*
Go Pro
*fair use
Pro+ IRL
Custom
+200 credits / month
  • Pro MoTeC files (real cars)
  • Competitor data analysis
  • Track-day engineering reports
Request pricing
Team
Custom
Sim teams & race teams
  • Multi-driver endurance & live strategy
  • Remote PCs connected to one pit wall
  • IRL multi-site, private data
Request pricing

Free vs Pro — what each plan unlocks

FreePro
2nd-screen pit wall (live)
All file formats (any sim, MoTeC)
Active race engineers17
Per-corner analysisPreviewFull
Rebuilt setup — concrete changes
Questions to your engineersUnlimited*
Session history + before/after deltas
Thermal & energy windowsPreviewFull
Credits2 / day100 / month

Reads your laps from

Le Mans Ultimate iRacing rFactor 2 Assetto Corsa / ACC RaceRoom Automobilista 2 MoTeC .ld